
In about one week, I will be participating as a vendor at the Dickens by the Creek Market. It will be my third year participating and I am contemplating whether the last one. As usual, as the date gets closer I start contemplating my life choices, and start regretting signing up to begin with.
Usually that feeling goes away once I am ready for the show. Right now I am not ready for it yet. I have yet to make the bath bombs, price the items and make my Victorian costume, among other things. Why did I wait this long to do those things? Well, it is hard sometimes to juggle multiple side businesses, in addition to a full time job.
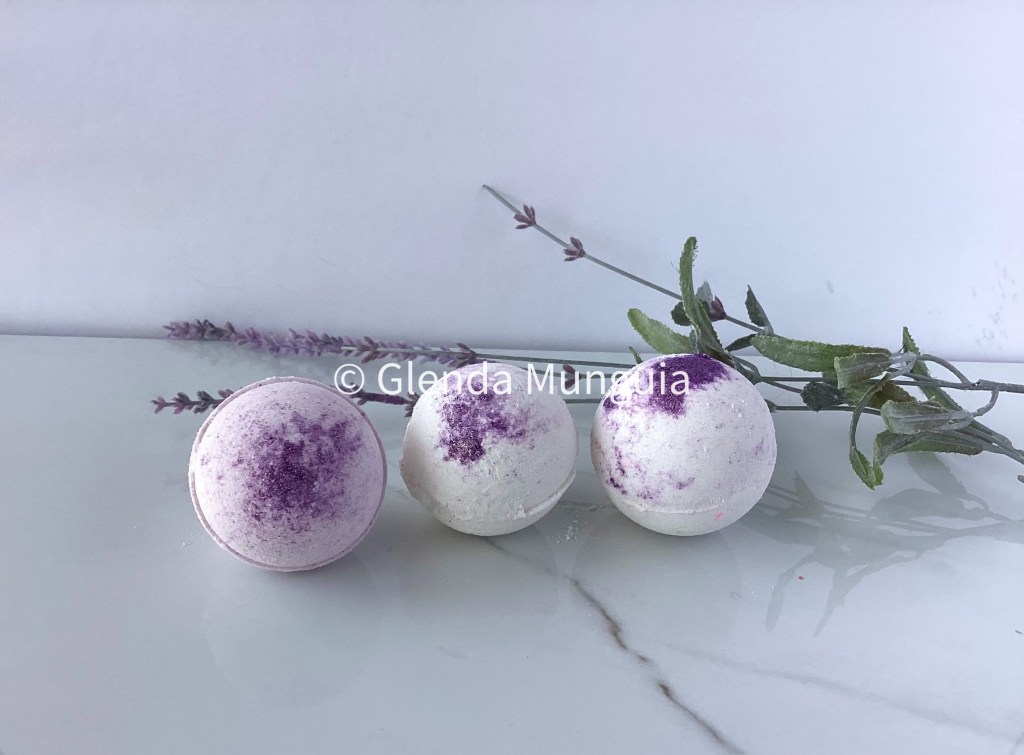
I did start making the bath bombs today though. My plan was to make the simpler ones first (Uncolored and without embeds), the ones meant for women who want a calm bath experience, scented in lavender. Making the bath bombs was anything but calm though.
It started well, right after putting the melted cocoa butter and fragrance, the mix was moist enough that I could make the first bathbomb without any problems and it unmolded beautifully. The second bathbomb broke in half, so did the third, so I switched molds, moved to a metal one (aff link) instead of the 3D printed one. I was back in business, or so I thought. But the next one was a fail, and the next one, and the one after that, and so on…. They were essentially breaking in half even though I was careful not to twist the molds. The room was getting hot, I was getting desperate. Tried again and failed. I didn’t know what was wrong and I knew that if I kept spraying the mix, I could ruin it. (Something I learned when I made large batches, so I switched to smaller ones.) I have made bath bombs many times before, I know what recipes work in my humid area, and what techniques work best, but I was at a loss.
I needed help. Divine help. I prayed and asked Jesus if he would help me, that I didn’t know what was wrong but He probably did. Would he make them with me? (No, I didn’t kneel down, though I could have, I just quickly thought this in my mind).
So, here are the tips, provided you have a good working recipe for your environment (in my case of high humidity area, my recipe includes cocoa butter instead of liquid oils, and Cream of tartar as a hardening agent.
Be calm & comfortable
First thing I felt He said (as a thought in my mind) was that if I was hot, to turn the fan on. I almost said…”but that is going to dry the mix too quick,” but I had asked for help and arguing back was not the way to receive it. The fan did help me calm down once it cooled me down.
Make sure the mix is moist enough
Then I felt He said that the mix should feel cool and it didn’t. It feels cool when it is moist enough. So I sprayed it with some more with alcohol (70% isopropyl alcohol) even though it had passed the test (the one where you clump some in your fist, open and tap the clump to make sure it doesn’t break easily).
Clean your molds in between
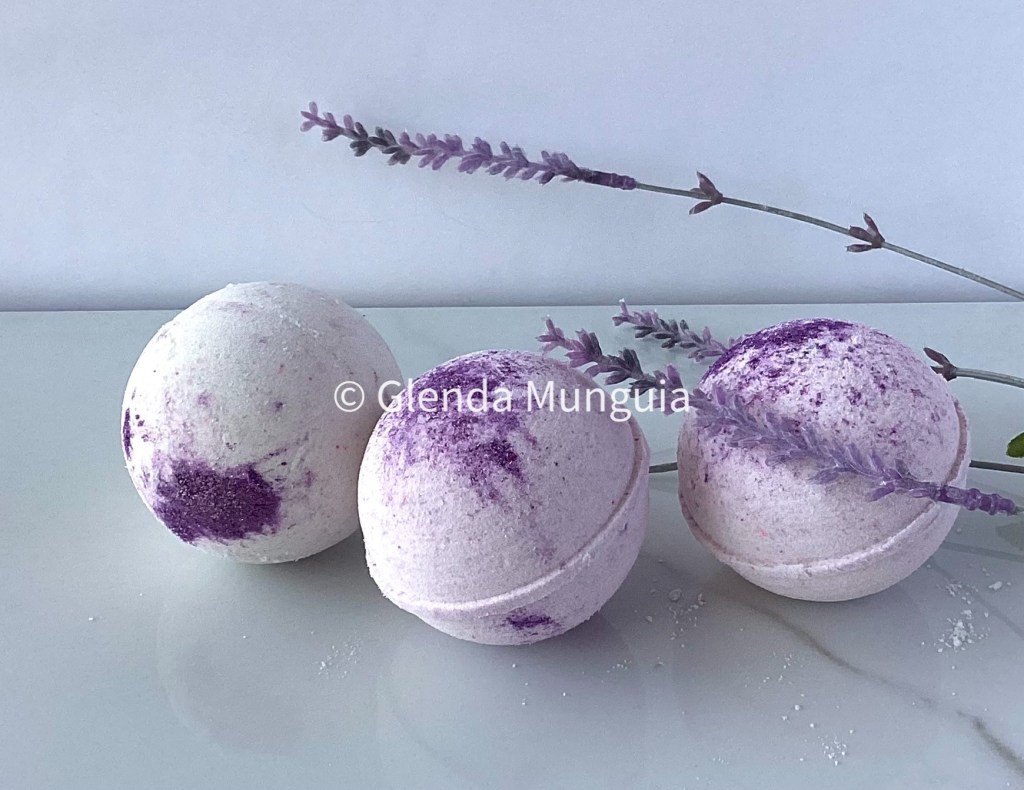
Next I grabbed the 3D printed mold. Initially, I had been putting purple enviroglitter on it, with some salt as decoration, but stopped when I started having trouble thinking that was the culprit. He said I should put the enviroglitter again, that as a loose powder it would prevent the bathbomb from sticking to the mold. So I did. Thinking back, I realize I did not sand my molds after I 3D printed them, so the ridges were trapping some of the mix and were not very smooth. I believe this is why the mica/enviroglitter was helpful, it acted as a release agent.
Be blunt
Then I put the mix and pressed it the mold with the heel of my palms, as usual. Pressing hard from the shoulders with my elbows locked (CPR style). After that, I felt compelled to use the hammer I was using to tap the mold, (to help unmold it,) but used it instead to whack the mold in a quick motion. Perhaps trying to imitate the force of what a bath bomb press would do. This part I am not sure if it was me or God. Thankfully the mold didn’t break, I had 3D printed it well! I should note I was using a brass jewelry hammer, so it was smaller and lighter than your regular hammer from the hardware store.
Be patient
Next was the true test. Removing it from the mold. I removed the sleeve, held the top part to see if the bathbomb would drop and nothing! I got nervous, but I heard (not with my ears) one word: “Wait”. So I set the whole thing aside and started working on the next bath bomb. When I had that one in another mold I set it apart as well and came back to the previous one. To my delight I was able to remove it easily without it breaking in half. Waiting worked!
I followed the same steps with the rest of the mix and did not have any more problems, Except when by accident I knocked down one of the molds on the table, and had to reload it.
I wanted to write this down so I can refer back to it next time, and if you live in a humid area, and do not have a bath bomb press, perhaps some of the tips can help you too. Or you can ask Him yourself and be ready to listen!
Now on to making more bathbombs! I am using a modified recipe from Fun in the tub by the way. I mostly changed the proportion of baking soda to citric acid to align more with Marie’s from Humblebee and me recipes, as I prefer a shorter length of time for bath bombs to dissolve.
Update:
I almost did not make any more bathbombs after doing the lavender ones, trying to reduce my tasks for this week, but after reviewing the sales from previous events, we decided I should try to make more. I am happy to report that the tips above also worked for the bath bombs that have embeds inside. I did two types of embeds:
- I made some cloud shaped bath bombs that have colorful dissolving embeds inside (the recipe for the embeds is also in the Fun in the tub e-book)
- I made the extra large round bathbombs and put a toy inside, the toy helps them float and it is also a surprise for children. (I put the toys or erasers inside plastic capsules). I did simplify the job by choosing gender neutral colors and toys.
