
I love the scent of coffee, and I make sure to always have this fragrance in stock. The flavor of coffee?? Not so much, I am not a coffee drinker, to the surprise of most caffeine addicts, I mean, coffee drinkers around me. I find it ironic, considering I am from El Salvador, and coffee is one of our biggest exports. (I don’t like Coca Cola either, BTW or soft drinks in general)
When I was in school, I was taught that many- many years ago (probably centuries ago, when there were pirates roaming the oceans.), the shipments of coffee from El Salvador were marked as being from a different country (the boxes), to avoid theft, as it was a highly priced commodity. I actually have three more interesting facts about coffee to share before getting into the soap:
- To grow coffee, a tropical climate is ideal, and according to this website, volcanic rock in the soil is very helpful. In El Salvador there are about 20 potentially active volcanoes (which is a lot for an area of 18,124 square miles or 21,040 sq km, which is about the same size as Massachusetts.) These volcanos provide the right soil for growing coffee, and their altitude provide the right temperature.
- According to this thesis, there was an overproduction of coffee in the 90’s, so the world’s coffee exporters implemented the Coffee Retention Plan (1993). This was an agreement to reduce the amount of coffee production, to thereby increase the price by limiting the supply of it.
- According to this video (a vlog about a tour in a coffee harvesting plant in El Salvador), Starbucks coffee is essentially roasted to the point of being burnt, to maintain the same flavor no matter where they import the coffee beans from. (This is probably one of the reasons why they need to add all that sugar and flavors to it).
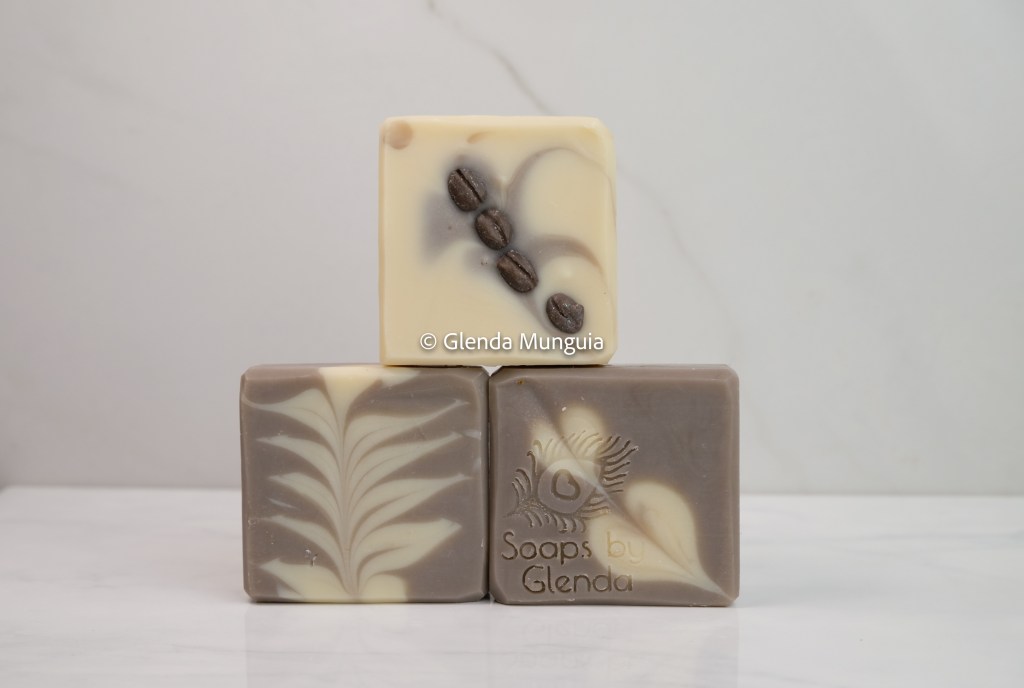
To make the soap, I used a version of the pipe divider swirl technique, where you pour a portion of the soap into a shape/divider, and the rest outside of it; then you pull out the divider and can make designs with a tool such as a bamboo skewer.
Recipe Totals
If you are a beginner, a recipe like this one might be better. This would be more of an intermediate project, once you have several batches under your belt. Below I am using a water discount and low superfat* percentage, and a dual lye blend.
Recipe Totals
| Liquid Required | 6.96 oz | 197.42 g |
| NaOH Weight | 3.32 oz | 93.99 g |
| KOH Weight | 0.27 oz | 7.71 g at 90% Purity |
| Lye Weight | 3.59 oz | 101.7 g |
| Oil Weight | 24 oz | 680.39 g |
| Fragrance Oil Weight | 1.5 oz | 42.52 g |
| Superfat | 2% | |
| Total Batch Weight | 36.42 oz | 1032.6 g |
| Lye Concentration | 34% | |
| NaOH / KOH Ratio | 95% / 5% |
Recipe Oils, Fats and Waxes
| Oil | % | Ounces | Grams |
|---|---|---|---|
| Olive Oil | 30 | 7.2 | 204.12 |
| Tallow Beef | 30 | 7.2 | 204.12 |
| Coconut Oil, 76 deg | 25 | 6 | 170.1 |
| Castor Oil | 8 | 1.92 | 54.43 |
| Shea Butter | 7 | 1.68 | 47.63 |
| Total | 100 | 24 | 680.39 |
Custom Additives (Optional)
| Add with the Fats | |
|---|---|
| Rosemary oleoresin | 0.021 ounce |
| Add at trace | |
| EDTA mixed with distilled water (50/50) | 0.36 ounce |
For more information on these additives you can click in the links below, please note above links are affiliate ones
- Rosemary oleresin (My oils already had this added when I masterbatched the oils)
- Tetrasodium EDTA
My affiliate links:
Several of the links above/below are affiliate links, as the ones below. If you would like to support this blog, you can use them to buy any item from those stores, it will not cost you any more, and I would get a tiny % commission on it. As amazon associate I earn from qualifying purchases.
NURTURE SOAP
AMAZON
MAKE YOUR OWN
Colorants:
1 tsp Shimmering white mica for 15 oz of soap batter: link Shimmering White Mica
1/4 tsp Bronze mica for the rest: aff link: Bronze Brown Mica
Mold:
Square cavities mold from Bramble Berry
Fragrance:
Coffee Beans, Vanilla and Nut from Wholesale Supplies
To the white portion I added: 0.55 oz of Nut and 0.25 of Coffee Beans
To the brown portion I added: 0.65 oz of coffee beans and 0.20 oz of Vanilla
I used a vanilla stabillizer to keep the white portion from going brown.
Embeds
I made them with Soap dough
Equipment
- List of regular equipment
- Round and Rectangular Soap dividers or:
- Round circle cutter set
- To pour the soap:
- 3.5 Cup funnel pitchers
- 2 Cup funnel pitchers
- Bamboo skewers or chopsticks for the swirling
Safety Equipment:
- Nitrile gloves
- Facial Shield (I use either a facial shield or the goggles below)
- Safety Goggles
- Respirator (I use this when mixing the lye, I mix the lye in the window sill, window opened, with a pedestal fan blowing the fumes away, better yet, freeze your distilled water prior) I also try to wear long sleeves, pants and closed shoes. In my personal experience, most of my near misses (when I feel my skin itching or a slight burning sensation), or when I come contact with the soap batter, have happened when I am wiping down the containers, when I am almost done.
MAKING THE SOAP
- First I mixed the mica with olive oil in the same container I will use to pour it (funnel Pitchers linked above), I use a tiny spatula to break down clumps.
- To make the soap, I normally heat up some of my masterbatched oils, weigh what I need and set it apart.
- Then I measure the masterbatched lye needed. However, if you do not masterbatch the oils or lye, I detail it below:
- In a well ventilated area (outside or by a window), add the lye gradually to the distilled water. Do not breathe the fumes. You can freeze half of the water ahead to avoid fumes, and weigh the ice cubes. You need to wear your safety gear. Lye burns! You can prepare this several hours ahead, or even days ahead, keep it properly covered. (If making it the same day, loosely cover it to allow it to cool. Once at room temperature, use an airtight lid).
- While you wait for the lye water to cool down, you can weigh and melt your oils. Weigh your fragrance oil or essential oils into a glass container or ceramic container (fragrance oils can dissolve thin plastics). Ideally you can add the vanilla stabilizer to them, but I added it to my soap batter instead.
- I suggest you have everything ready to go from this point on, you will need to work fairly fast because the vanilla fragrance accelerates (it thickens up the soap batter)
- When your oils and lye solution are at or below 105°F (37.77°C), put on your PPE (Personal protective equipment) again, and add your lye solution to the oils slowly, to avoid splatters pour it on the blender shaft. If your lye solution is cooler than this, is ok. As long as it not near freezing. (Room temperature is fine). If your oils go under 95° F, warm them up to lightly above 100° F
- Stir with the blender on Off position initially, then blend for 5-7 second periods, alternating with stirring for 10 seconds or longer, until it is emulsified. This takes about 30-50 seconds with this recipe. When a recipe reaches emulsion, everything has a uniform, lighter color than before, you do not see the darker oil swirls when blending. It is better to err on the side of under blending that over blending for this soap.
- Divide the soap into the containers, about 15 oz for the white and the rest for the brown.
- Add the fragrance to each color and stir for about 30 seconds until it reaches light trace.
- I poured opposite colors outside the divider and inside. When done pouring, I slowly pulled up the divider out. I then used the chopsticks to do the swirl as shown in the video.
- Cover with plastic to avoid soda ash (I use Press and seal) I try to promote gel phase by putting a heating pad on the floor, putting a box on top, and covering it with a blanket. I leave the heating pad on for 5 hours or so, on High.
- Wait 48 -72 hours hours to remove,
- Let the soap cure for at least 4 weeks in an open area protected from direct sunlight before using. (not touching any metal)
