
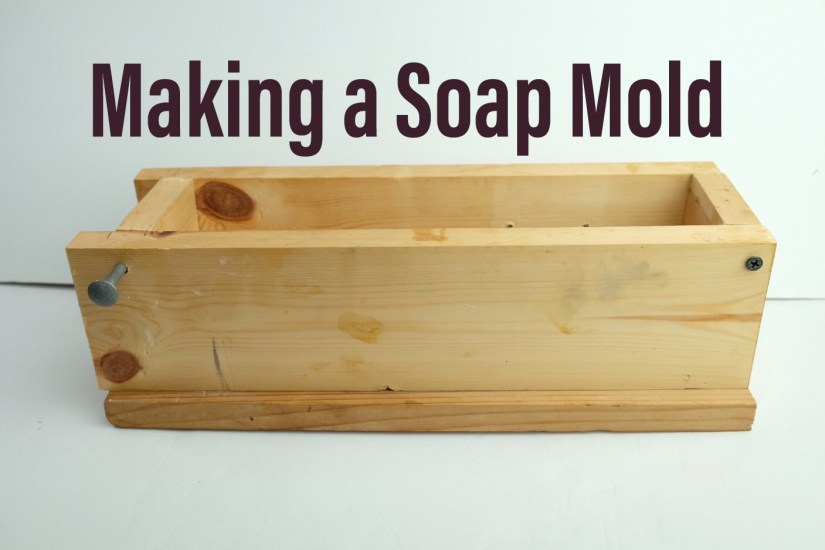
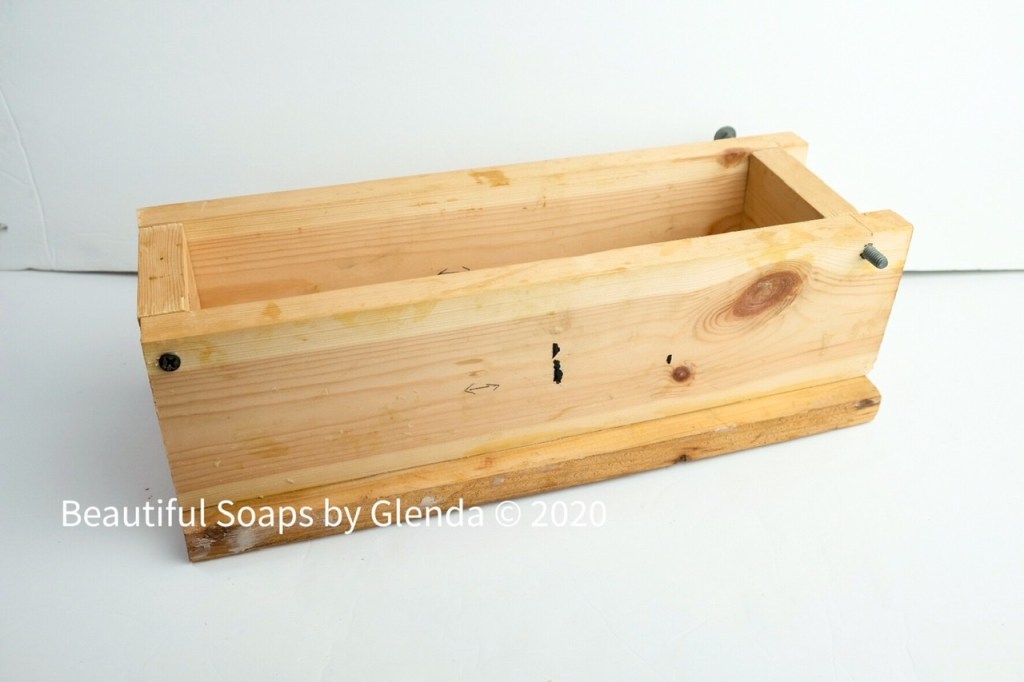
Over the years, I have tried a wide variety of containers as soap molds: plastic tool boxes, milk cartons, corrugated plastic DIY molds, regular cardboard, pringles cans, tupperware, etc….and of course, the standard silicone molds and liners. Lately I have come to prefer the uniformity that a silicone liner inside a wooden mold provides. The liner helps me remove the soap easily, while the wooden mold keeps the wall straight.
I have been too frugal to buy a wooden mold myself, so I have tried my hand at making them instead. It turns out it is not as difficult. It may lack the finesse of professional made ones, but for my soaps, they will do!
Something to consider though, is that in my case this was cheaper to DIY because I already had wood laying around. However, for $20 more when purchasing the liner, I could have bought the mold that came with it, so you might want to think of that. Given the choice though, I preferred spending the $20 in fragrances and micas. (stuff I cannot DIY)
Below are the materials and tools I used, and if you scroll down you can find the video of the making:
Wood:
Please note that I was working with the wood pieces I had. If I was purchasing the wood, I would buy something closer to the silicone liner size, though an added advantage of having shorter walls than the liner, is that I can remove it more easily.
I had a long piece of wood out of which I just cut the pieces to do the walls and end pieces. Then I had a wider piece of wood, but still long, that I had my husband cut to make the base.
- For the base: I had a piece of wood that was 11/16″ (almost 1/2″ = 1.7 cm) thick, 5.25″ wide (14 cm) and 13.5″ (34 cm) long.
- For the walls: two identical pieces that measured 14″ (34 cm) long, 3.5″ (8.8 cm) tall and 3/4″ (1.8 cm) thick.
- For the end pieces: two identical pieces that measured 2 7/8″ (7.2 cm) wide, 3 3/8″ (8.8 cm) tall and 3/4″ (1.8 cm) thick.
Other supplies:
- Wood glue I bought this brand at the local hardware store, any brand should do.
- Sanding Paper (optional but helpful if your wood is not smooth)
- One 5″ to 6″ threaded rod or screw (depends on the width of your mold) I wished I had used a threaded rod like this one.
- Wing nuts that match the thread and thickness of your rod. This will make one end piece of your mold removable, but it is optional, you can leave it open.
- Eight 2″ flat head wood (for wood) screws: I used Drywall screws, #2 phillips 7 x 2-in. That is not what these screws are meant to be used for, but it is what I had. The important thing is the length given the thickness of my material.
Tools:
- Miter saw (if you have it)
- Drill
- Drill bit set (you need one that matches the thickness of the screws, to make the guide hole; and another one that matches the head of the screw, to make the screw heads flush with the wood)
- Screwdriver that matches the head of your screws (I used the drill with the Phillips screwdriver tip)
- Ruler
PPE:
Video:

2 thoughts on “Making a Soap Mold”